Table of Contents
Looking to breathe new life into that outdated laminate furniture without breaking the bank? Whether it’s a tired dresser, a faded bookshelf, or a chipped coffee table, painting laminate furniture is an easy and budget-friendly way to transform your space. But unlike solid wood, laminate can be a bit tricky to paint. Fear not! With the right preparation and techniques, you can achieve a flawless, professional-looking finish. In this step-by-step guide, we’ll show you how to paint laminate furniture and turn any laminate piece into a stylish showstopper. Let’s dive in and get painting.
What is Laminate Furniture?
Before diving into the steps to paint laminate furniture, it’s essential to understand what laminate furniture is. Unlike solid wood furniture, which is made from natural wood, laminate furniture consists of particleboard or MDF (medium-density fiberboard) covered by a thin layer of plastic-like material called laminate. This laminate surface can mimic the appearance of wood veneer or other materials, but its slick surface makes it tricky for paint to adhere to properly.
Step 1
Gather Your Supplies
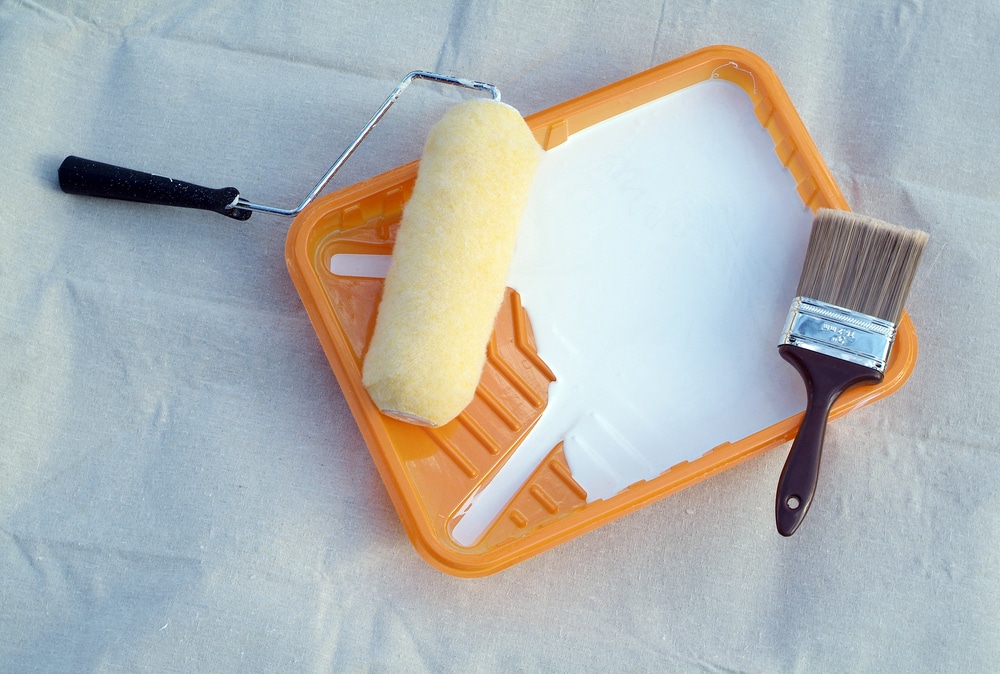
To successfully transform your pieces of furniture, you’ll need the following tools and materials:
- Sanding block
- Degreaser or mild cleaning solution
- Primer
- Interior paint or chalk paint
- Foam roller
- Paintbrushes
- Top coat
- Painter’s tape
- Drop cloth
- Safety gloves and mask
Step 2
Prepare the Furniture
The first step in any painting process is preparation.
- For laminate cabinets or furniture with drawers, make sure to remove the drawers and any hardware, such as handles or knobs. This allows you to paint all areas evenly without accidentally painting over the hardware.
- Place the removed items in a safe place so you can easily reassemble them later.
- Using a degreaser or mild cleaning solution, clean the surface of the furniture thoroughly. Laminate surfaces are notorious for attracting dust and grime, which can prevent the paint from adhering properly.
- Make sure you wipe down every area that you plan to paint and allow it to dry completely before moving on to the next step.
Step 3
Sanding the Furniture
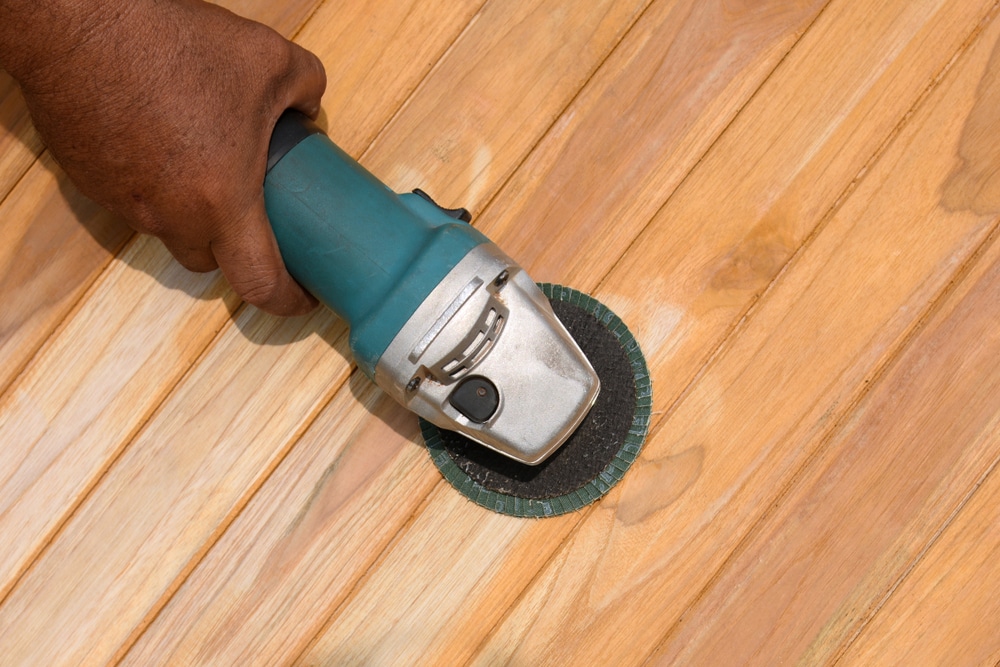
After cleaning, the next crucial step is sanding. While laminate surfaces are smooth and shiny, you need to rough them up slightly to help the paint stick. You don’t need to strip the surface entirely; a light sanding is sufficient.
Use a Sanding Block
Grab a fine-grit sanding block (around 120-220 grit) and gently sand the entire laminate surface. This step will help dull the shine and create a more textured surface to which the primer and paint can adhere. Make sure to sand evenly to avoid any spots where the paint might peel later. Once you’ve finished sanding, wipe down the furniture with a damp cloth to remove any dust and debris.
Explore different types of sanders and their applications, helping you make an informed decision for your furniture projects.
Step 4
Prime the Laminate Surface
Now that the laminate surface is prepped and sanded, it’s time to apply a primer. Primer is an essential step, especially when painting laminate cabinets or furniture because it creates a good base for the paint to stick.
- Use a foam roller for large, flat surfaces and a brush for detailed areas or edges. Apply a thin, even coat of primer and let it dry according to the manufacturer’s instructions (usually 1–2 hours).
- If there are any uneven spots or drips, lightly sand them with 220-grit sandpaper and clean the dust with a tack cloth. This is crucial because painting over wet or tacky primer can result in unevenly painted furniture.
Step 5
Paint the Furniture
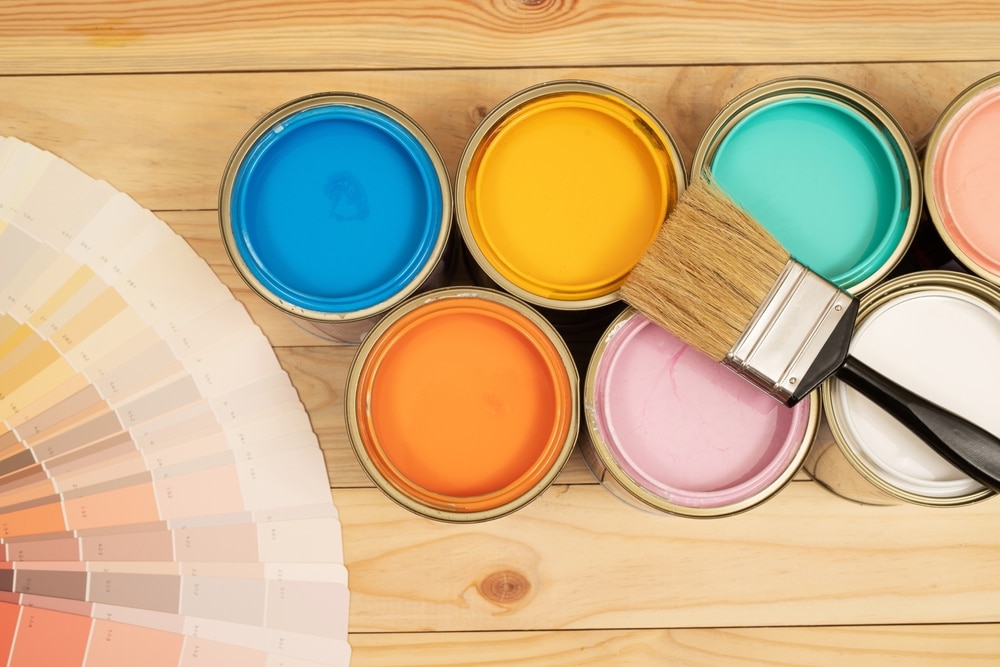
Once the primer has dried, you can begin applying your first coat of paint. You can use interior paint, chalk paint, or even a spray painted finish, depending on the look you’re going for.
Once your primer is dry and smooth, you’re ready to apply the paint.
Choosing the Right Paint
There are several types of paint you can use to paint laminate furniture.
- Latex paint: Durable and easy to clean, latex is a good choice for high-use furniture like tables or dressers.
- Chalk paint: Known for its matte finish and vintage look, chalk paint is perfect for a more rustic or distressed appearance. It also sticks well to laminate without excessive prep work.
- Acrylic paint: This type of paint offers a smooth, durable finish and is easy to work with.
How to Apply Paint
Start by applying a thin coat of paint with a foam roller for the flat surfaces and a brush for any intricate details or edges. Use long, even strokes to avoid brush marks or streaks. For the best results, apply 2–3 thin coats, allowing each coat to dry completely before applying the next. This helps to build up an even, durable finish. For a smooth, streak-free finish, consider using a foam roller for large, flat areas. Foam rollers help distribute the paint evenly and reduce the chances of visible brush strokes.
Step 6
Apply Additional Coats
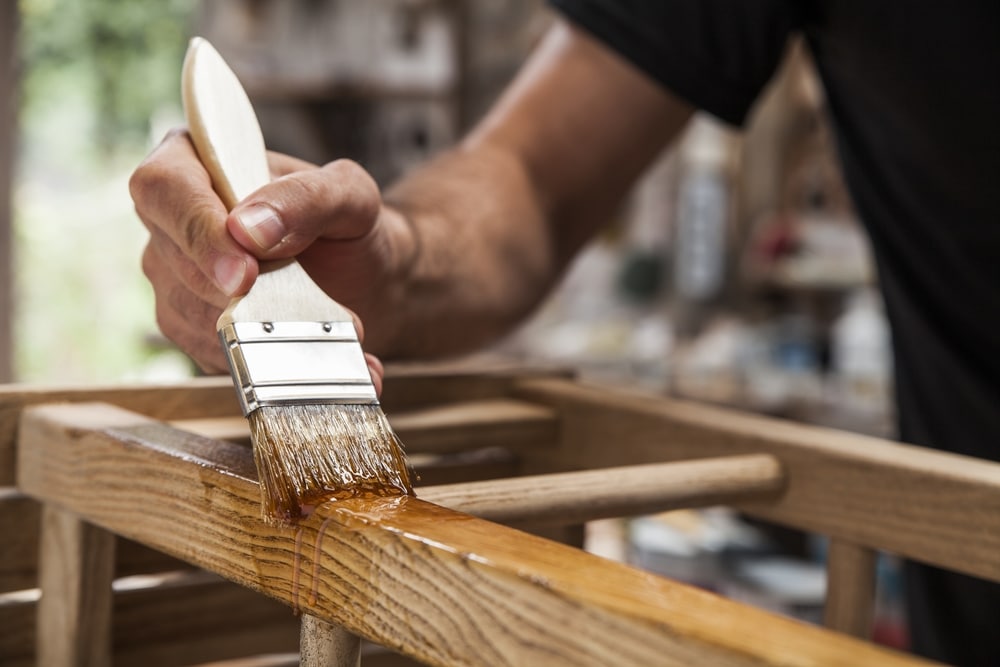
For the best results, you’ll likely need to apply at least two to three coats of paint, especially if you’re trying to cover a dark color with a lighter one. Be sure to let each coat dry completely before applying the next one.
This step is particularly important when working with laminate cabinets or other laminate surfaces, as multiple thin coats will help the paint adhere better and last longer.
Step 7
Sand Between Coats (Optional)
For an ultra-smooth finish, lightly sand between each coat of paint using a fine-grit sanding block. This step helps remove any imperfections or brush strokes that may have appeared during the painting process. Be sure to wipe away any dust before applying the next coat.
Step 8
Apply the Top Coat
After you’ve finished applying the final coat of paint, it’s time to seal everything with a top coat. The top coat is essential for protecting your newly painted furniture and ensuring it withstands daily wear and tear.
There are different types of top coats available, including water-based and oil-based options. Choose one that suits your project and the type of paint you used. Apply the top coat using a clean foam roller or brush, and let it dry completely before reassembling your furniture.
Step 9
Seal the Paint
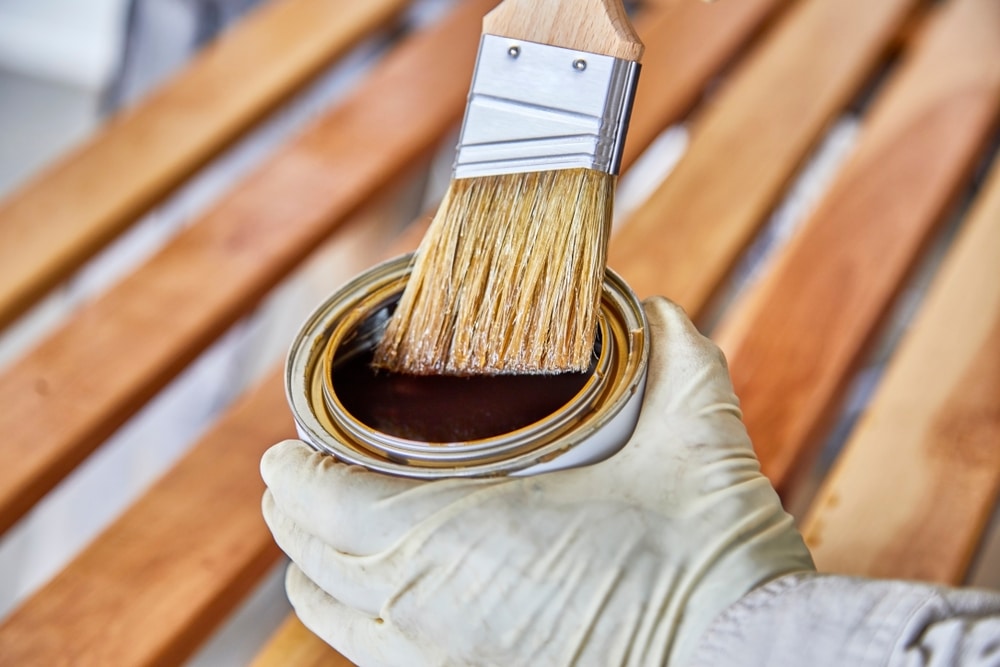
After painting, you’ll want to protect your work by applying a topcoat. This is especially important for pieces of furniture that will get a lot of use, such as desks, tables, or dressers.
You have a few options for sealing painted laminate furniture:
- Polyurethane: This offers a strong, durable finish and is available in glossy, satin, or matte finishes. Polyurethane works well for high-traffic pieces like tables.
- Clear Wax: If you’re using chalk paint, a clear wax topcoat is commonly recommended. This gives the paint a soft, velvety finish while offering protection.
Step 10
Reassemble the Furniture
Once the top coat has dried, it’s time to put everything back together. If you had to remove drawers or hardware at the beginning of the project, now is the time to reinstall them. Make sure the paint has cured entirely before using the furniture to prevent any smudges or damage.
Tips for Success
- Always use a primer designed for laminate surfaces to ensure that the paint sticks well.
- Choose high-quality interior paint or chalk paint for the best finish.
- Be patient during the painting process and let each layer dry completely to avoid smudging or uneven results and can cause the paint to chip or bubble.
- Lightly sand between coats to achieve a smooth surface.
- When working with multiple colors or protecting areas from paint, use painter’s tape to achieve clean, crisp lines.
- For an ultra-smooth finish, especially on large pieces, you might want to consider using a paint sprayer.
Conclusion
Painting laminate furniture is a simple and cost-effective way to give your home a fresh look. While it requires a bit more effort than painting solid wood, the steps outlined above will help you achieve a professional finish that will last for years to come. By taking the time to properly prep the laminate surface, choose the right materials, and follow the correct steps, you can transform your outdated pieces of furniture into stylish and modern-painted furniture. Whether you’re working with laminate cabinets or small decorative pieces, this guide has everything you need to complete the project with confidence.
By ensuring that you clean, sand, prime, and apply multiple coats of paint, along with a protective top coat, your furniture will look polished and professional. Follow these steps for a successful laminate furniture paint process, and enjoy your newly refreshed furniture.

