Table of Contents
Wood furniture holds a timeless charm, often serving as the centerpiece of our homes. However, over the years, even the most beloved pieces can succumb to scratches, fading, and wear. Restaining wood furniture is a fantastic way to breathe new life into your favorite piece of furniture. Whether you’ve found a beautiful antique at a thrift store or you’re giving your worn-out wooden furniture a second chance, learning how to restain wood furniture will transform your home decor. Restaining is an essential part of refurbishing furniture, especially for DIY enthusiasts who take pride in personalizing their living spaces. In this guide, we’ll walk you through the entire process, from prepping the surface to applying the final stain so that you can master the art of wood furniture refinishing.
Why Restain Wood Furniture?

Over time, wooden furniture can lose its luster due to wear and tear, exposure to sunlight, and changes in humidity. Restaining allows you to:
- Restore the original color of the wood.
- Change the color or finish to better match your decor.
- Protect the wood from future damage.
- Save money by refurbishing rather than buying new furniture.
Tools and Materials Needed
Before you begin, gather the following tools and materials:
- Damp cloth
- Cleaning cloth
- Putty knife
- Paint stripper or chemical strippers
- Grit sandpaper (various grits)
- Mineral spirits
- Stain (oil-based or water-based, depending on preference)
- Sealant or topcoat
- Brushes or rags for application
- Ventilated area for working
Step-by-Step Process

Step 1- Preparing the Furniture
Begin by selecting a well-ventilated area for your project. Good ventilation is essential when using paint stripper or other chemical strippers. Remove any hardware (handles, knobs) from the piece of furniture to ensure even application of the stain. If your wood furniture is particularly dirty, use a damp cloth to clean the surface before you start.
Step 2- Removing the Old Finish
The next step is removing the old finish. You have a couple of options here: using chemical strippers or sanding.
Option 1: Chemical Strippers
- Apply the paint stripper according to the manufacturer’s instructions using a brush.
- Allow it to sit for the recommended time (usually 15-30 minutes).
- Use a putty knife to gently scrape off the softened finish. Be careful not to damage the wood.
- Repeat the process if necessary until all the old finish is removed.
- Wipe the surface with a cleaning cloth soaked in mineral spirits to remove any residue.
Option 2: Sanding
If you prefer to sand the finish off:
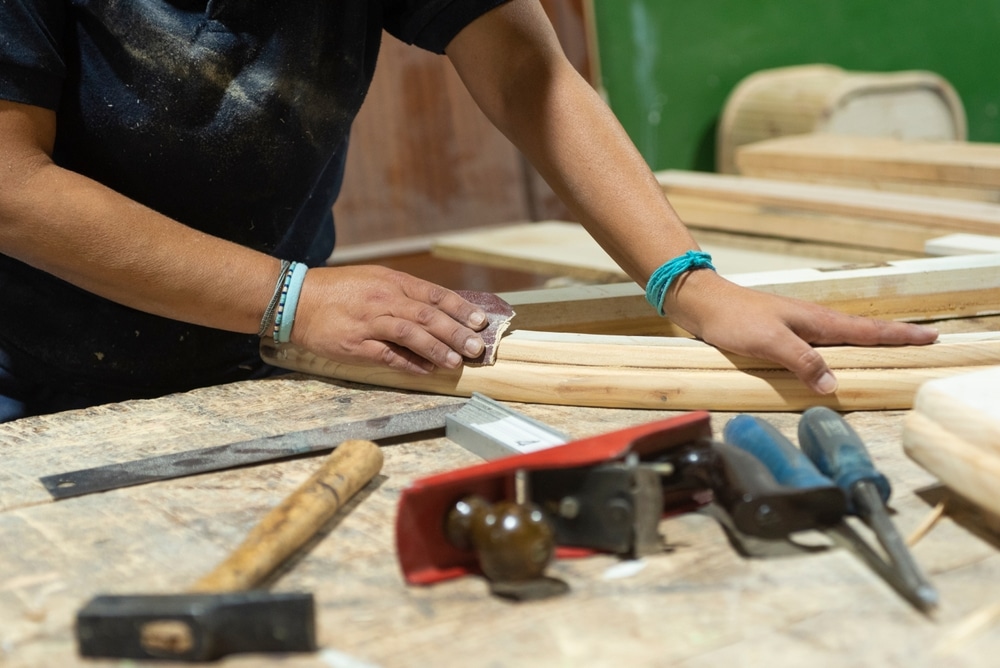
- Start with coarse grit sandpaper (around 60-80 grit) to remove the bulk of the existing finish.
- Sand in the direction of the grain to prevent scratches.
- Once the finish is removed, switch to a finer grit sandpaper (120-220 grit) for a smoother finish.
- Make sure to sand the corners and edges thoroughly.
- After sanding, wipe down the surface with a damp cloth to remove dust.
Explore different types of power sanders and their applications, helping you make an informed decision regarding sanding your furniture projects.
Step 3- Repairing and Restoring
Inspect the piece of wood for any dents or damage. If you find any imperfections, you can fill them with wood filler or putty.
- Apply the wood filler using a putty knife, ensuring it fills the dent or cracks completely.
- Allow it to dry completely according to the product instructions.
- Sand the filled area with fine-grit sandpaper until it’s flush with the surrounding surface.
Step 4- Staining the Wood
Now that your wood furniture is prepared, it’s time to stain it.
- Choose your stain color. If you’re trying to match the original color, test the stain on a hidden area first.
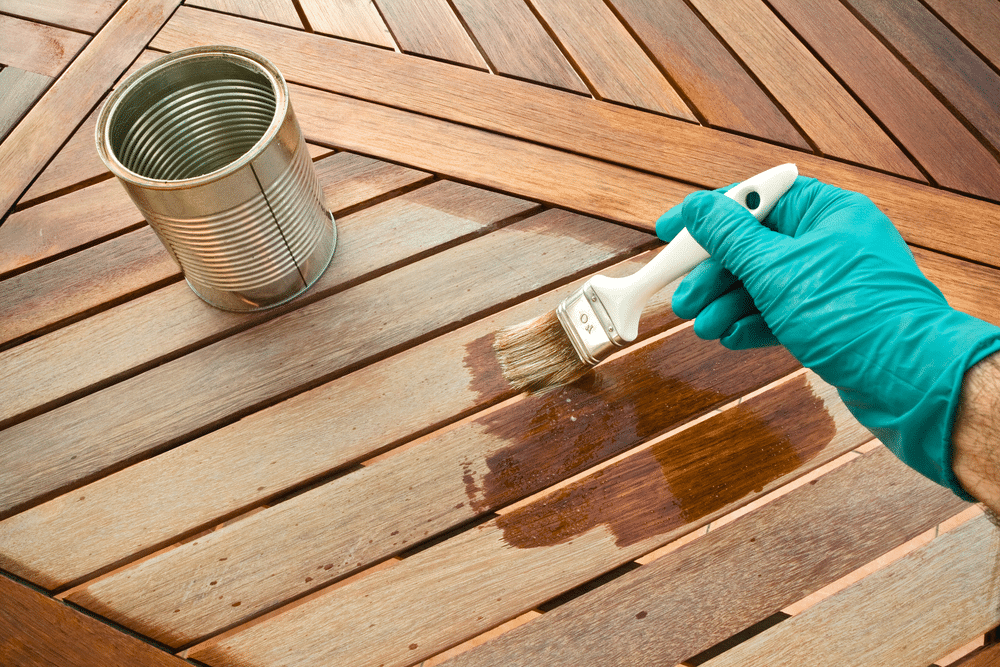
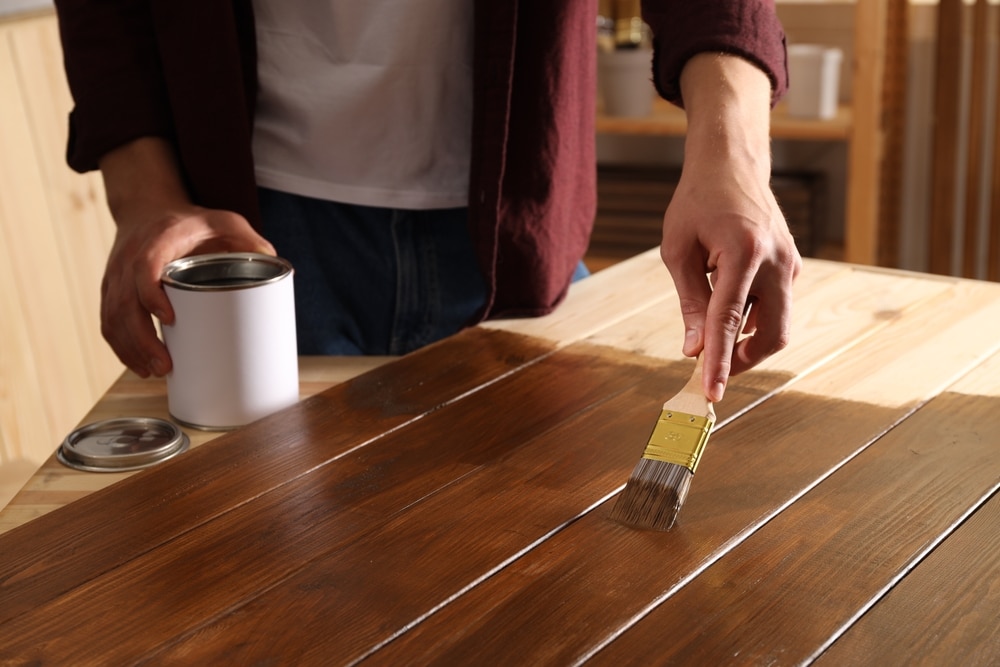
- Stir the stain thoroughly, then apply it with a brush or rag, following the grain of the wood.
- Allow the stain to penetrate for a few minutes, then wipe off any excess with a cleaning cloth.
- For a darker finish, you can apply additional coats of stain. Be sure to let each coat dry completely before applying the next.
Step 5- Sealing the Finish
After your final coat of stain is dry, it’s essential to seal the wood to protect it from moisture and wear.
- Choose a sealant that matches your needs. Oil-based finishes provide a durable coat, while water-based finishes are easier to clean up.
- Apply the sealant using a clean brush or rag, following the wood grain.
- Allow the sealant to dry completely, then lightly sand with fine-grit sandpaper between coats if you plan to apply multiple coats for added durability.
- Follow the manufacturer’s instructions for the best results.
Step 6- Final Touches
Once the sealant is completely dry, reattach any hardware you removed earlier. You may also want to give the piece one final wipe-down with a damp cloth to remove any dust or fingerprints.
Tips for Success

- Work in a well-ventilated area to minimize exposure to fumes from strippers and stains.
- Always test your stain on a small, inconspicuous area to ensure you like the color.
- Use different grit sandpaper for various stages of the project to achieve a smooth finish.
- Don’t rush the drying process; patience is key to achieving a professional look.
- Consider using gloves and a mask to protect your hands and lungs from chemicals.
Conclusion
Refinishing wood is a rewarding DIY project that can rejuvenate your beloved pieces of furniture. By following these steps on how to restain wood furniture, you’ll not only enhance the beauty of your home but also gain a sense of accomplishment. Whether you are a beginner or have experience in furniture refinishing, this guide serves as a comprehensive resource to help you through the process. Enjoy your newly refinished furniture, and take pride in the fact that you brought it back to life with your own hands.

